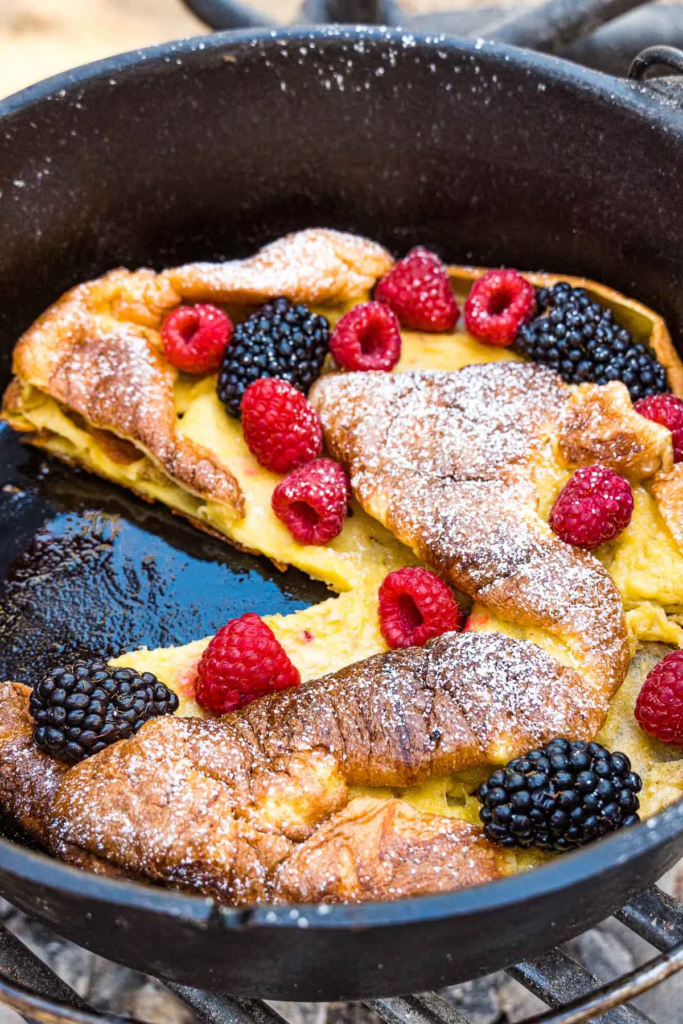
Ingredients:
Eggs: Try to use room temperature eggs, which seem to work better for this recipe. Scramble thoroughly until completely smooth.
Milk: We used room temperature whole milk for this recipe, but it would also work with oat milk. Just opt for the extra creamy version.
Flour: Regular AP flour.
Sugar: Just a little for the batter.
Salt: Got to have it.
Butter: Don’t skimp on this! The butter is what is going to help develop those delightful crispy crunchy edges (the best part).
Equipment:
Dutch oven: If you want to make a Dutch Baby at a campsite, then you’ll need a Dutch oven. For this recipe we used our 10” inch Lodge Dutch oven. Hot coals or embers go underneath and on top, to allow you to bake inside of it.
Lid Lifter: We use this Lodge 4-in-1 lid lifter tool to help us remove and reposition our Dutch oven lid once the coals are on.
How To Make A Dutch Baby Pancake:
Below are the details on how to make this Dutch Baby recipe while camping. If you want to make it at home, check out the info box at the end for directions!
Prepare The Fire Or Charcoal
Honestly, this is the most time consuming part of this entire recipe! If you’re planning on using embers, make sure you start your campfire about an hour before you want to start cooking. Check out our how to make a campfire article for tips on how build a campfire for embers.
A faster method is to use charcoal. With the aid of a charcoal chimney, you can get charcoal ready in about 20 minutes.
Make The Batter
To make the batter, crack the eggs into a large mixing bowl and beat vigorously until smooth. Add the milk, and give a quick stir to incorporate. Then add the flour, sugar, salt, and optional nutmeg. Mix together until smooth.
It’s okay if the batter sits out for a little bit. This recipe actually works better if all the batter ingredients are at room temperature.
Melt The Butter
Once the embers or charcoals are ready, set your Dutch oven over the heat to warm it up. Place your butter in the bottom of the Dutch oven and swirl it around until it melts. Once the butter is completely melted, pour your batter into the Dutch oven.
It’s important to do this a relatively level surface. The batter is very loose and will pool up on one side if the Dutch oven is on a significant tilt.
Bake
The internal temperature you’re aiming for inside your Dutch oven is 425 F. There are charcoal temperature charts that will give you a rough idea how many briquettes to use under and top of your Dutch oven. However, as you’ll find out over time, these charts can only give you a very rough estimate.
For this recipe, we spread out a small mound of charcoal under our Dutch oven and then we cover the entire top of the lid in a single layer of hot charcoals.
The best way to tell when the Dutch Baby is done is with your nose. At around 10 minutes (possibly less) you will start to smell a golden brown fragrance. This is your cue to give a quick peek. If the tops and edges are golden brown, it’s done! Remove from the heat.
Serve
The Dutch Baby really does puff up a lot. It will be at its most impressive the moment you open the lid and will appear to be pushing out of the pot. But once the heat is released, it will collapse slightly.
If you are only making one, you may opt to leave the Dutch Baby in the pot, which will help keep it warm. But if you want to reset to make another, you can slide a spatula down the side and lift it out onto a cutting board or plate.
Dust with powdered sugar, garnish with berries, and drizzle with maple syrup.

